Jupyterhub on Ige Clusters#
Make sure you are able to connect to the clusters ige-calcul1/2//3/4 without any passwords Please refers to the doc Connect to the clusters
Connect to the server#
Il you are using the command
ssh calcul1
to connect to the cluster ige-calcul1 , then create the ssh tunnel using any port , here 8300
ssh -fNL 8300:localhost:8000 calcul1
Note
The jupyterhub is also available on the other clusters, i.e ige-calcul2 ige-calcul3 ige-calcul4 Make sure to have a look to the features of each cluster as you can access to large memory (up to 700G) and Gpus
Once this done, open a local browser , with this url
http://localhost:8300
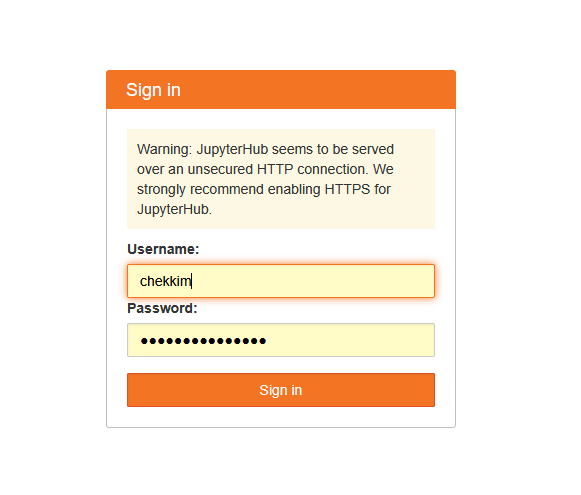
First, you will be asked for your agalan login/password
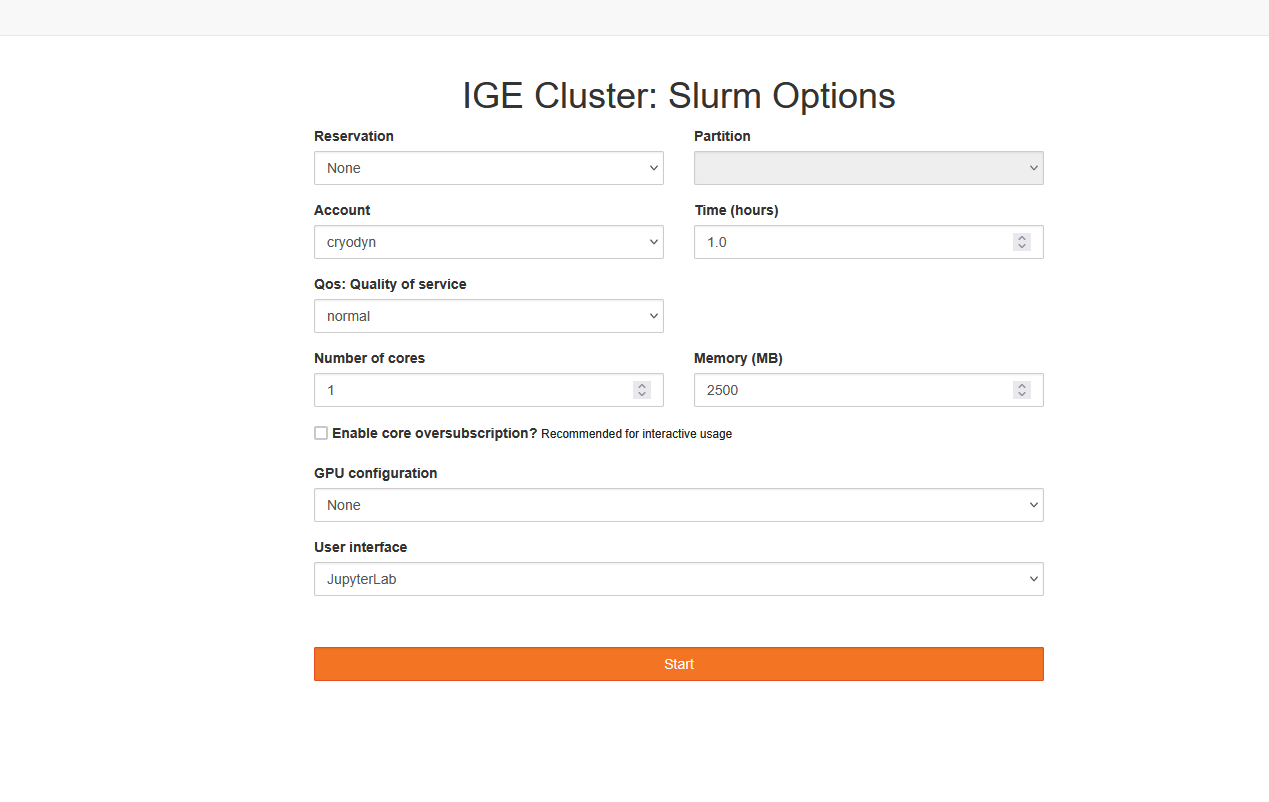
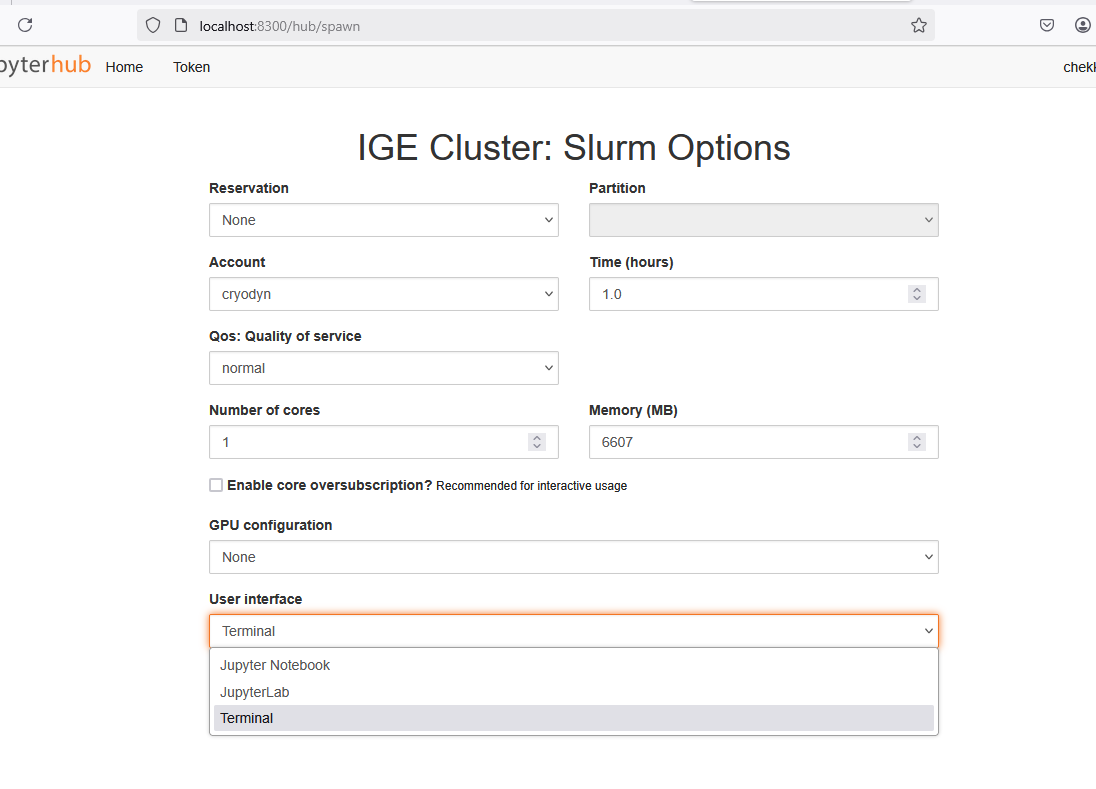
Then you get the different options to choose the needed ressources
Memory
CPUs/ GPUs
Time , etc…
Caution
If your job is taking time to get connected, you are problaly waiting in the queue You can connect using ssh , and check the ressources with squeue -u $USER
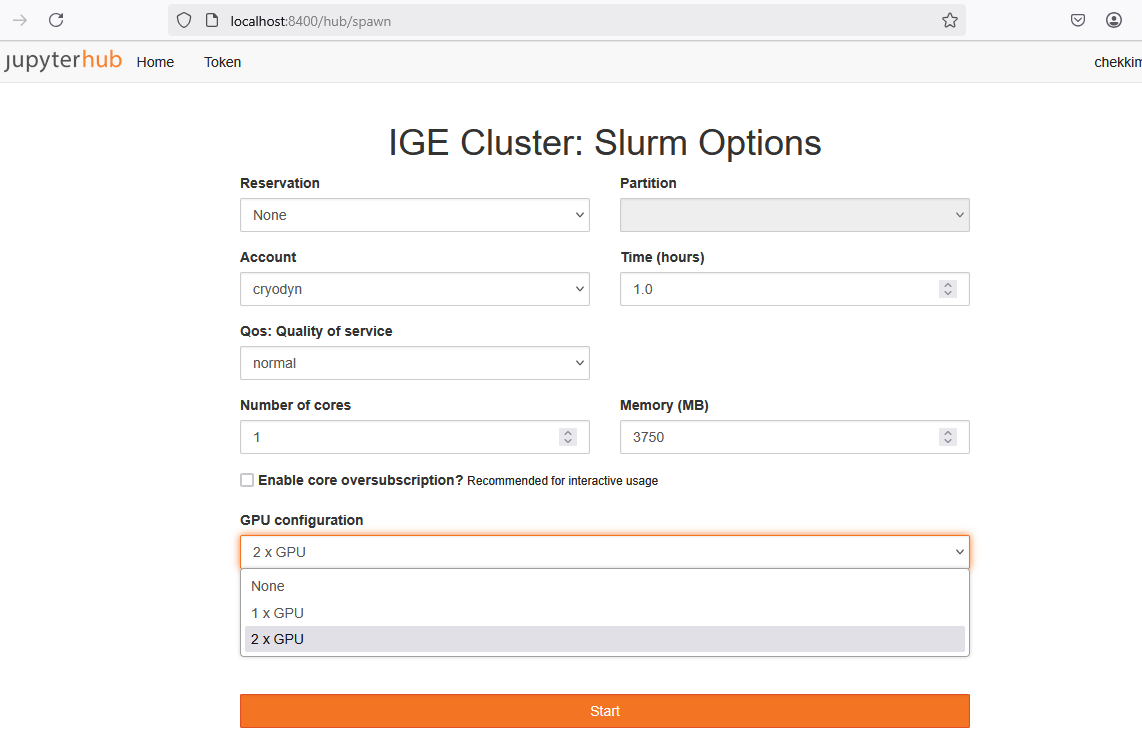
Here is an example to choose the number of gpus if there are any
If you are allowed to run long jobs (more than 2 days), then the Qos longjobs will appear
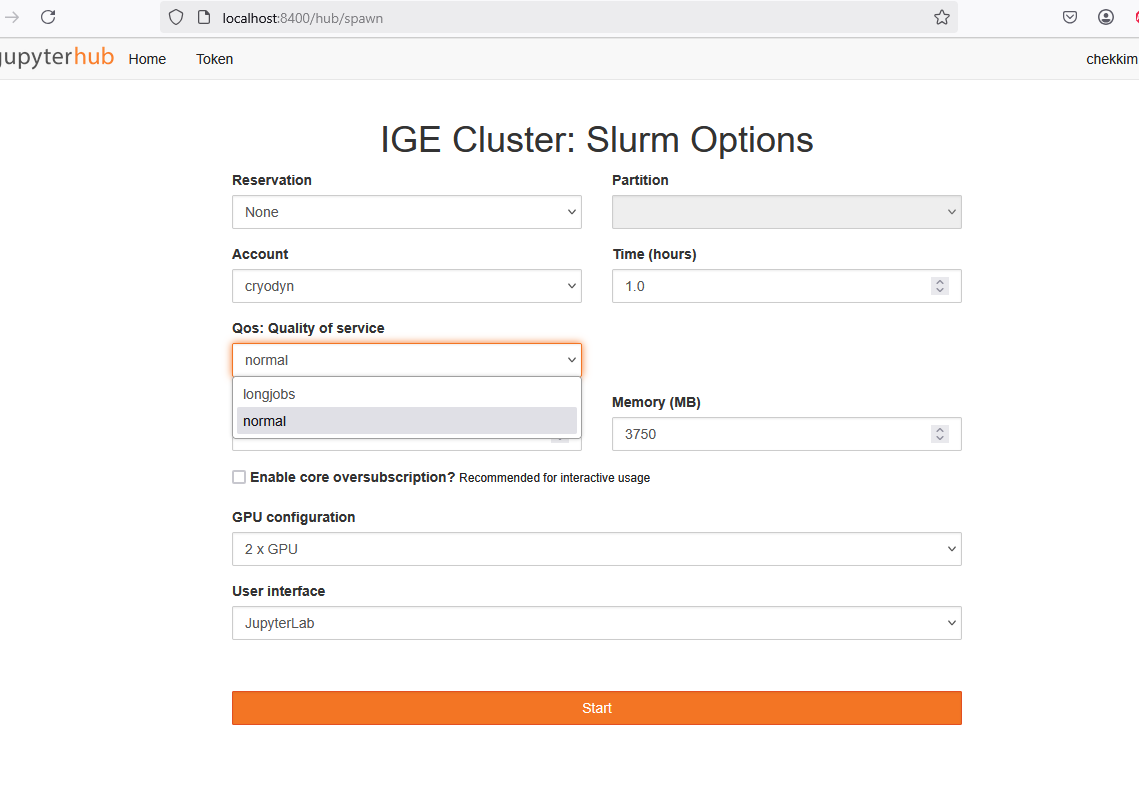
You can choose, which interface you need, jupyterlab/jupyter or just a terminal
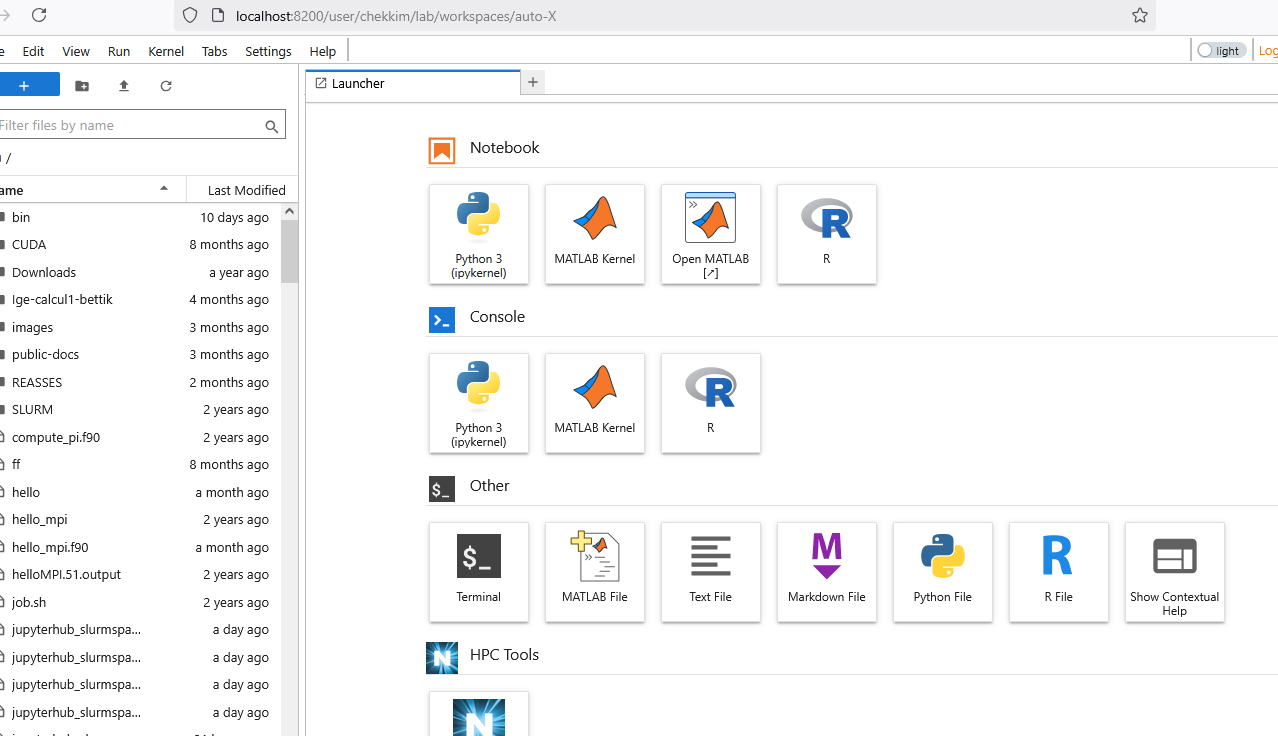
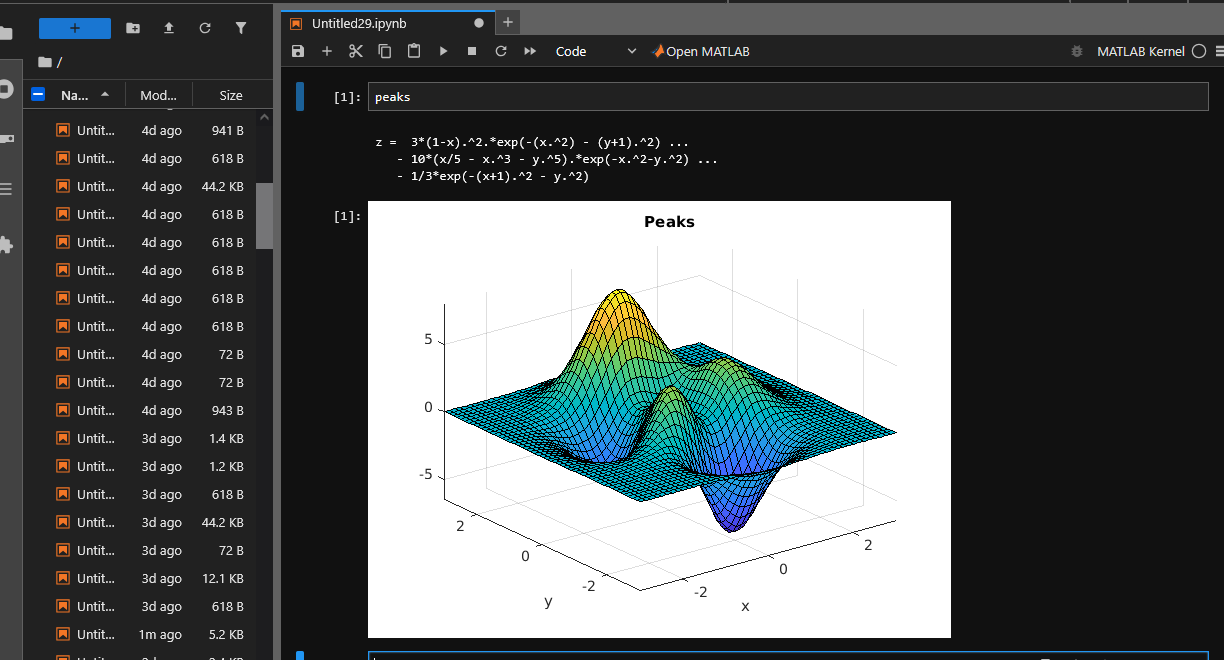
Finally you are connected to the a job and have acces to different kernels (pre-built: Matlab +your own : R/…)
You can acces to slurm commands to check the status of your code, from a notebook
Note
When the job is submit, it will read the \(HOME/.profile file. You can add all the environment variable you need before jupyter notebook starts. If you need to change the Notebook Directory (default \)HOME) , you can add the following in this file:
export NOTEBOOK_DIR=/path/to/new/location

Check the cpu usage (extension on the left)
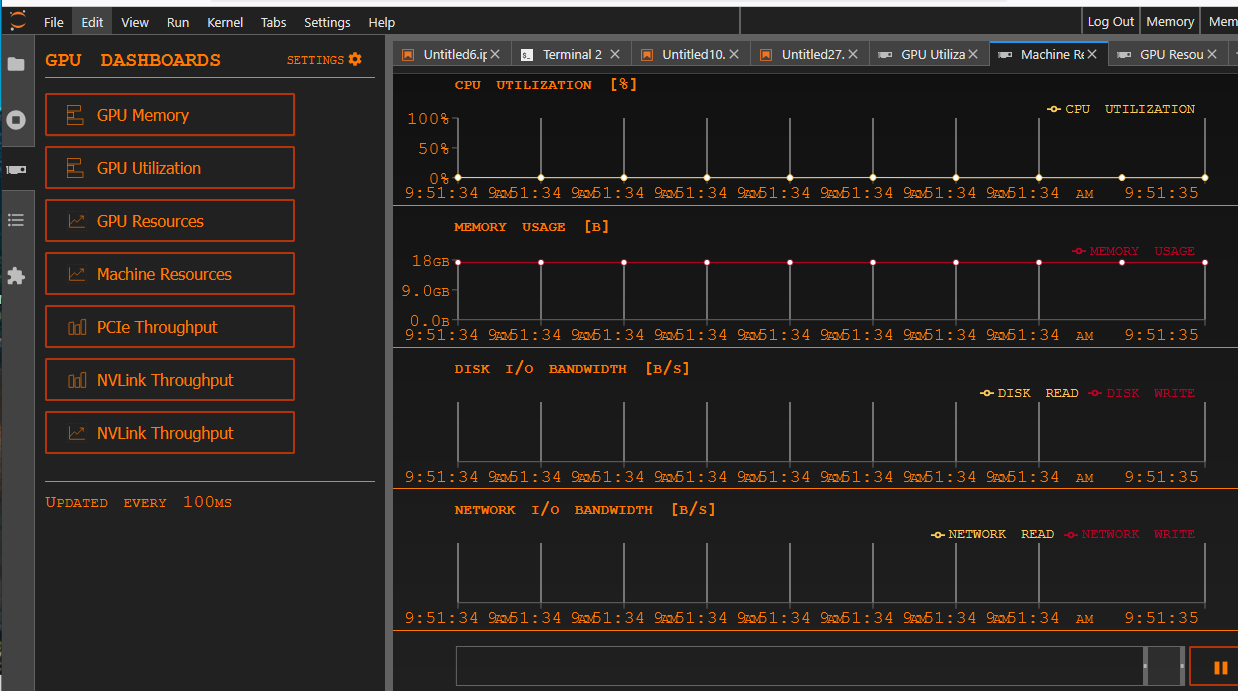
Check the gpu usage (extension on the left)

Matlab usage#
Note
For the first usage you will be asked to give the license server (Network License Manager) 27000@matlab.ige-grenoble.fr
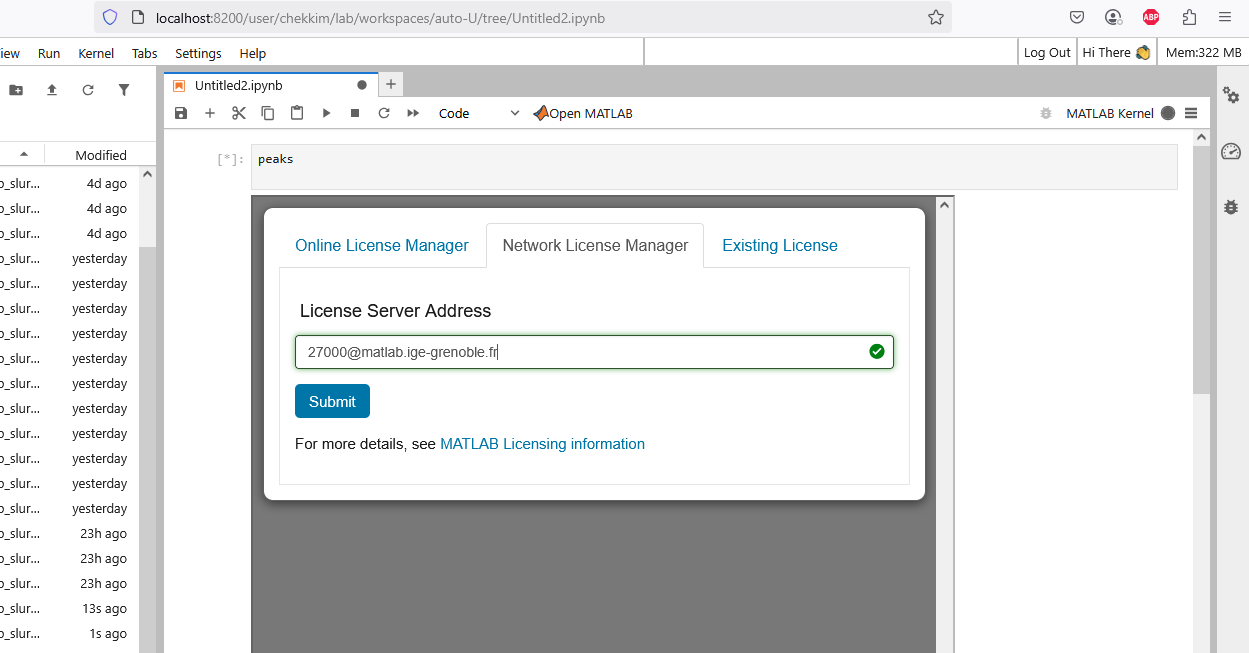
Once it is done, you will be able to run matlab and the configuration will be saved for future usages
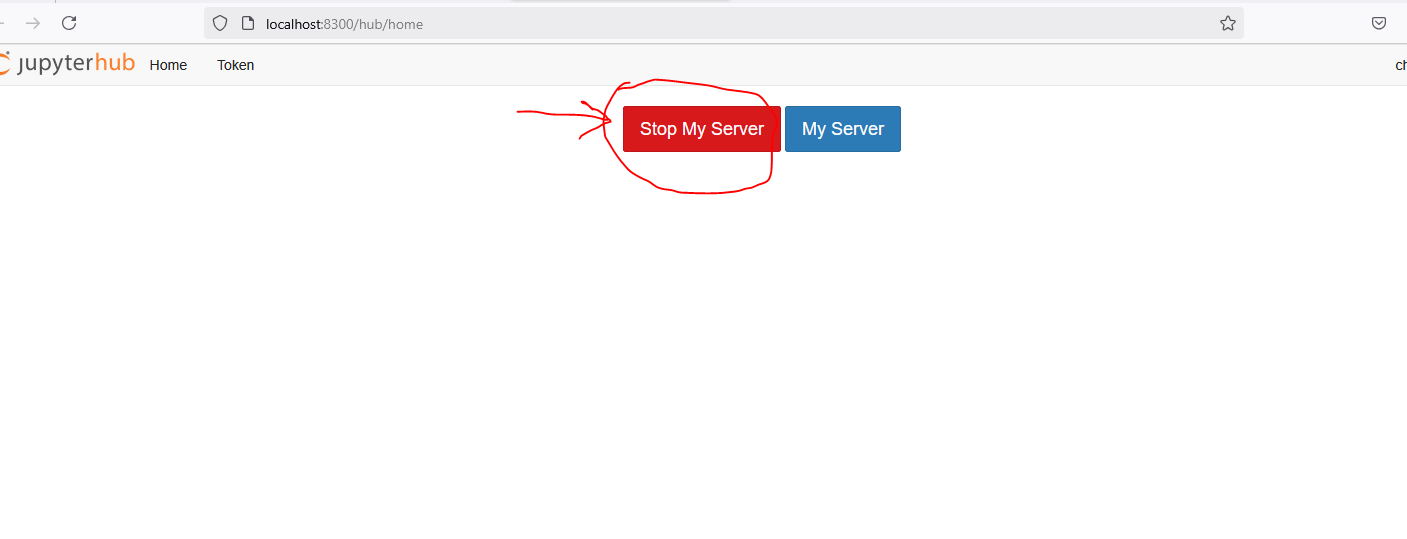
Exit the server#
In order to stop the kernel et kill the allocated job go to Hub Control Panel

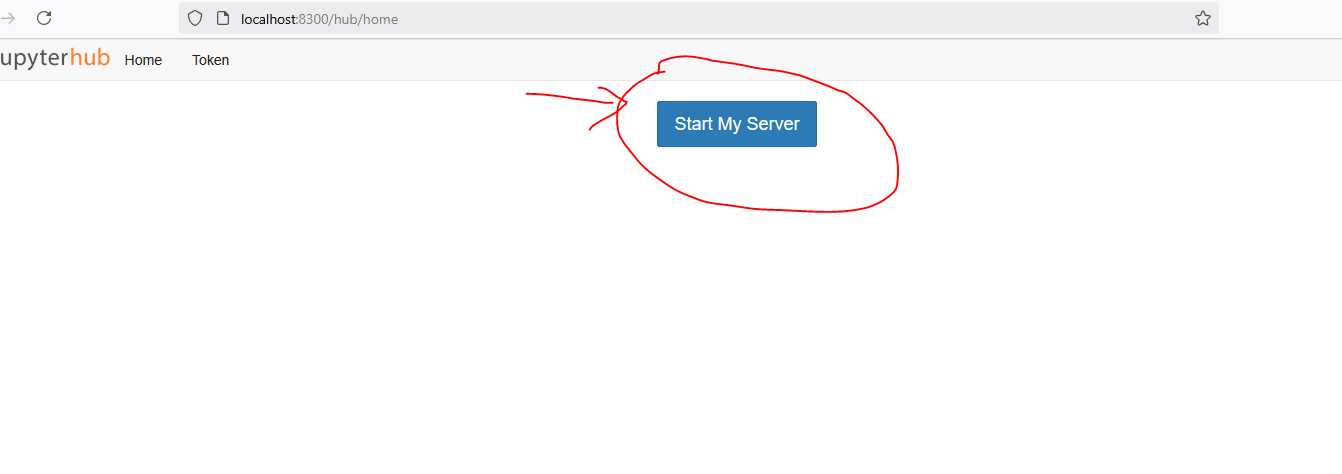
Restart the server#
You can restart the server , by clicking on the button Start My Server It will ask you again for new ressources adn connect you to the server
Add you own environment#
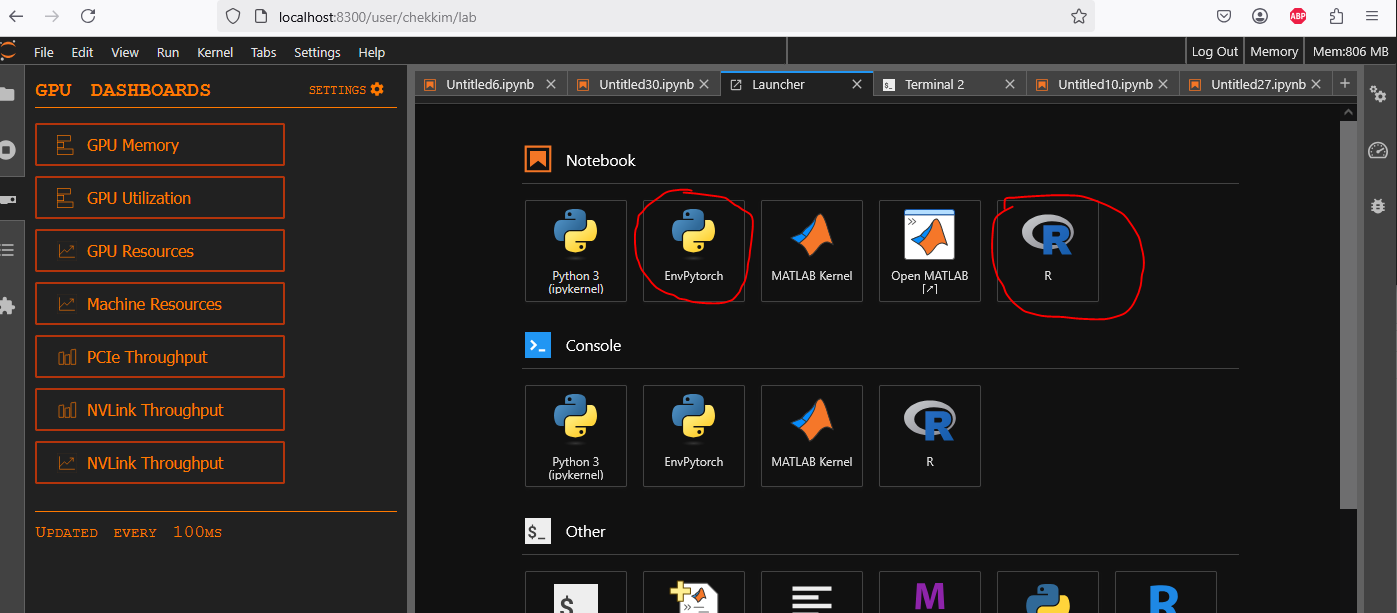
You can add you own kernel/ environment created with micromamba for example
R example#
Create your R environment
  micromamba create -n Renv python=3.10 -c conda-forge
  micromamba activate Renv
  micromamba install r r-base r-essentials -c conda-forge
Add the kernel to your jupyterlab
Open R terminal
 install.packages('IRkernel')
 IRkernel::installspec()
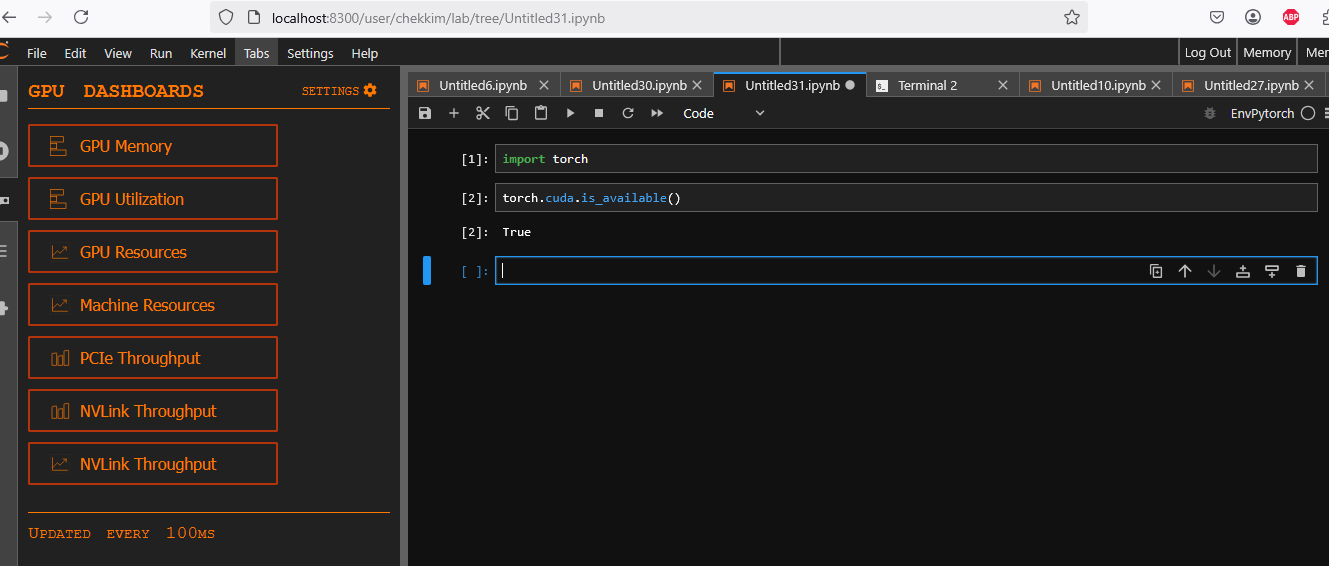
Pytorch example#
Create pytorch env
   micromamba create -n EnvPytorch python=3.10 -c conda-forge
   micromamba activate EnvPytorch
   micromamba install pytorch torchvision torchaudio  -c pytorch -c nvidia -c conda-forge
   micromamba install ipykernel  -c conda-forge
Install the pytorch environment
python -m ipykernel install --name EnvPytorch --user --display-name "Pytorch"
Run Vscode on the clusters#
Note
If you don’t need to use python and only vscode, you can select Terminal for the User Interface, instead of jupyterlab or jupyter This will open only a terminal on the server
Once you are connected to jupyterhub
Open a terminal from the jupyter launcher and get the informations to connect to the server in the output of your job
head -10 $HOME/jupyterhub_slurmspawner_$SLURM_JOBID.log
Example for my JOBID=8:
chekkim@ige-calcul2:~$ head -10  jupyterhub_slurmspawner_8.log
********************************************************************
Starting code-server in Slurm
Environment information:
Date: mer. 12 févr. 2025 14:53:13 CET
Allocated node: ige-calcul2
Node IP:
Path: /home/chekkim
Password to access VSCode: user_jobid
Listening on: 46479
********************************************************************
Then create an ssh tunnel with the given port
ssh -fNL 46479:localhost:46479 calcul1/2/3/4
and open your local browser
http://localhost:46479
Entre the password:

Then you can open any folder on the remote server
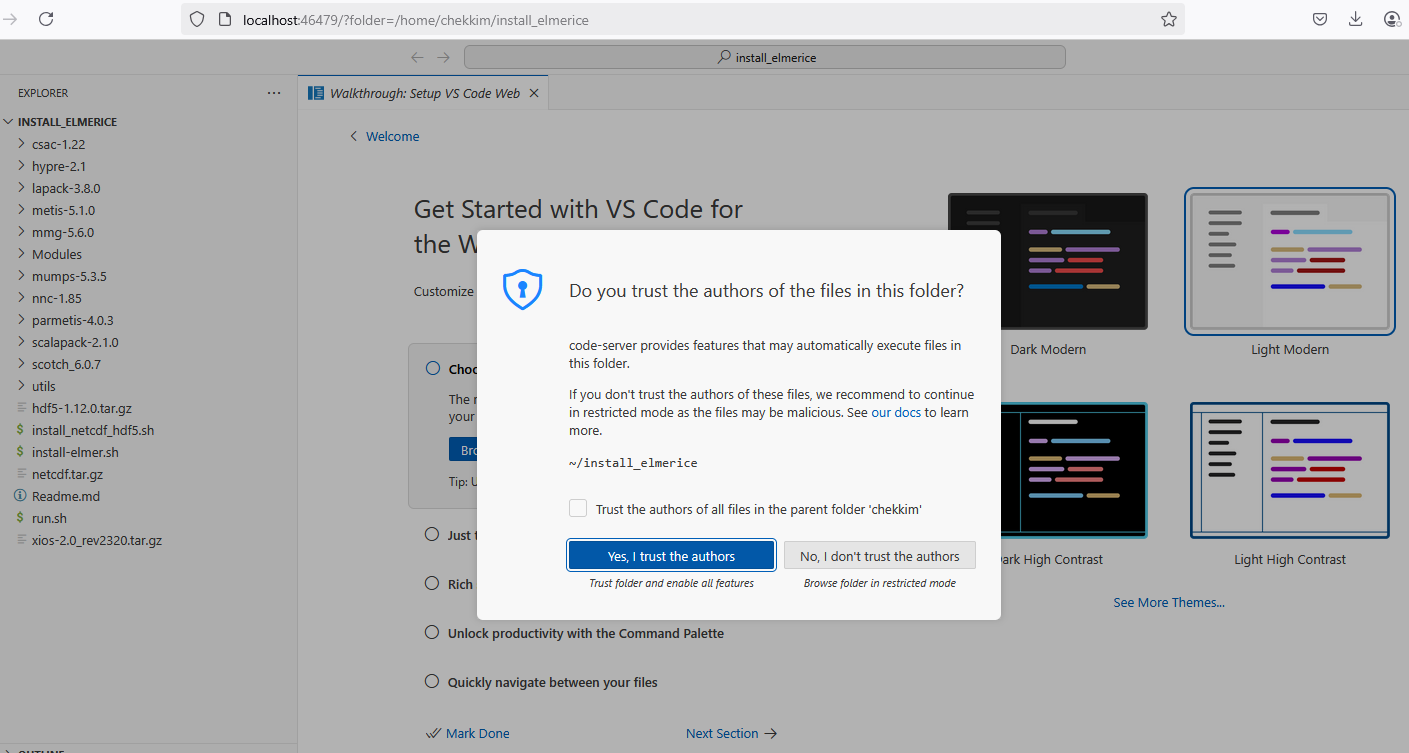
and that’s it , now you can modify your code and run vscode